Creating Example addons
You will need a server to host all the addon code. Addons require that resources be served over HTTPS. Kaiten loads resources into iframes, so you need to update your CORS settings to allow Kaiten to make requests to fetch your files. For example, using Express in Node.js - server.js:
const express = require('express');
const path = require('path');
const cors = require('cors');

const app = express();

app.use(cors({ origin: '*' }));

app.use(express.static(path.join(__dirname, 'public/views')));

app.use('/js', express.static(path.join(__dirname, 'public/js')));

const port = process.env.PORT || 1111;

app.listen(port, function () {
  console.log(`Your app is listening on port ${port}`);
});
In this example, all HTML files will be located in public/views, and all JavaScript files in public/js.
Next, let's create the main HTML page that Kaiten will load into a hidden iframe.This page will initialize the operation of our addon: public/views/index.html.
<!DOCTYPE html>
<html>
<head>
<meta charset="utf-8">
<script src="https://files.kaiten.ru/web-sdk/v1.min.js"></script>
</head>
<body>
<h1>Hey there! 👋</h1>
<p>This is a test addon connect and initialize page</p>
<script src="js/client.js"></script>
</body>
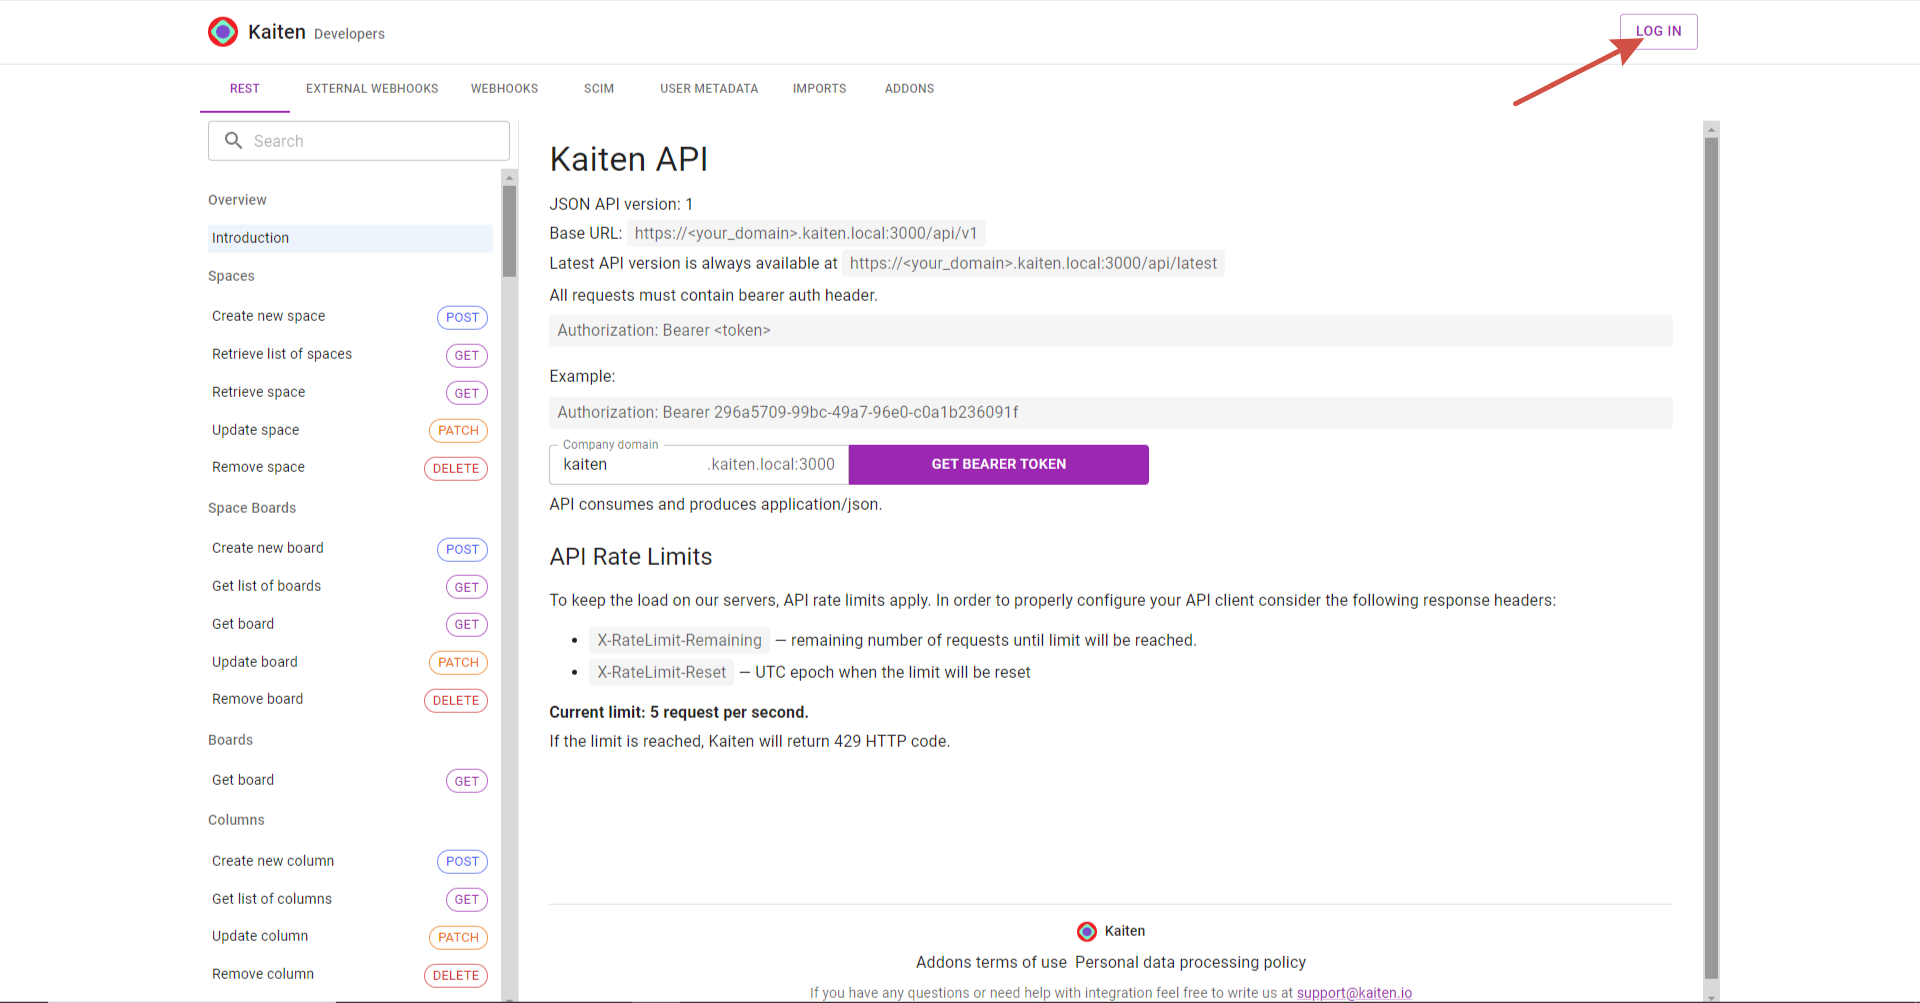
</html>Next, go to Kaiten Developers, log in to your account
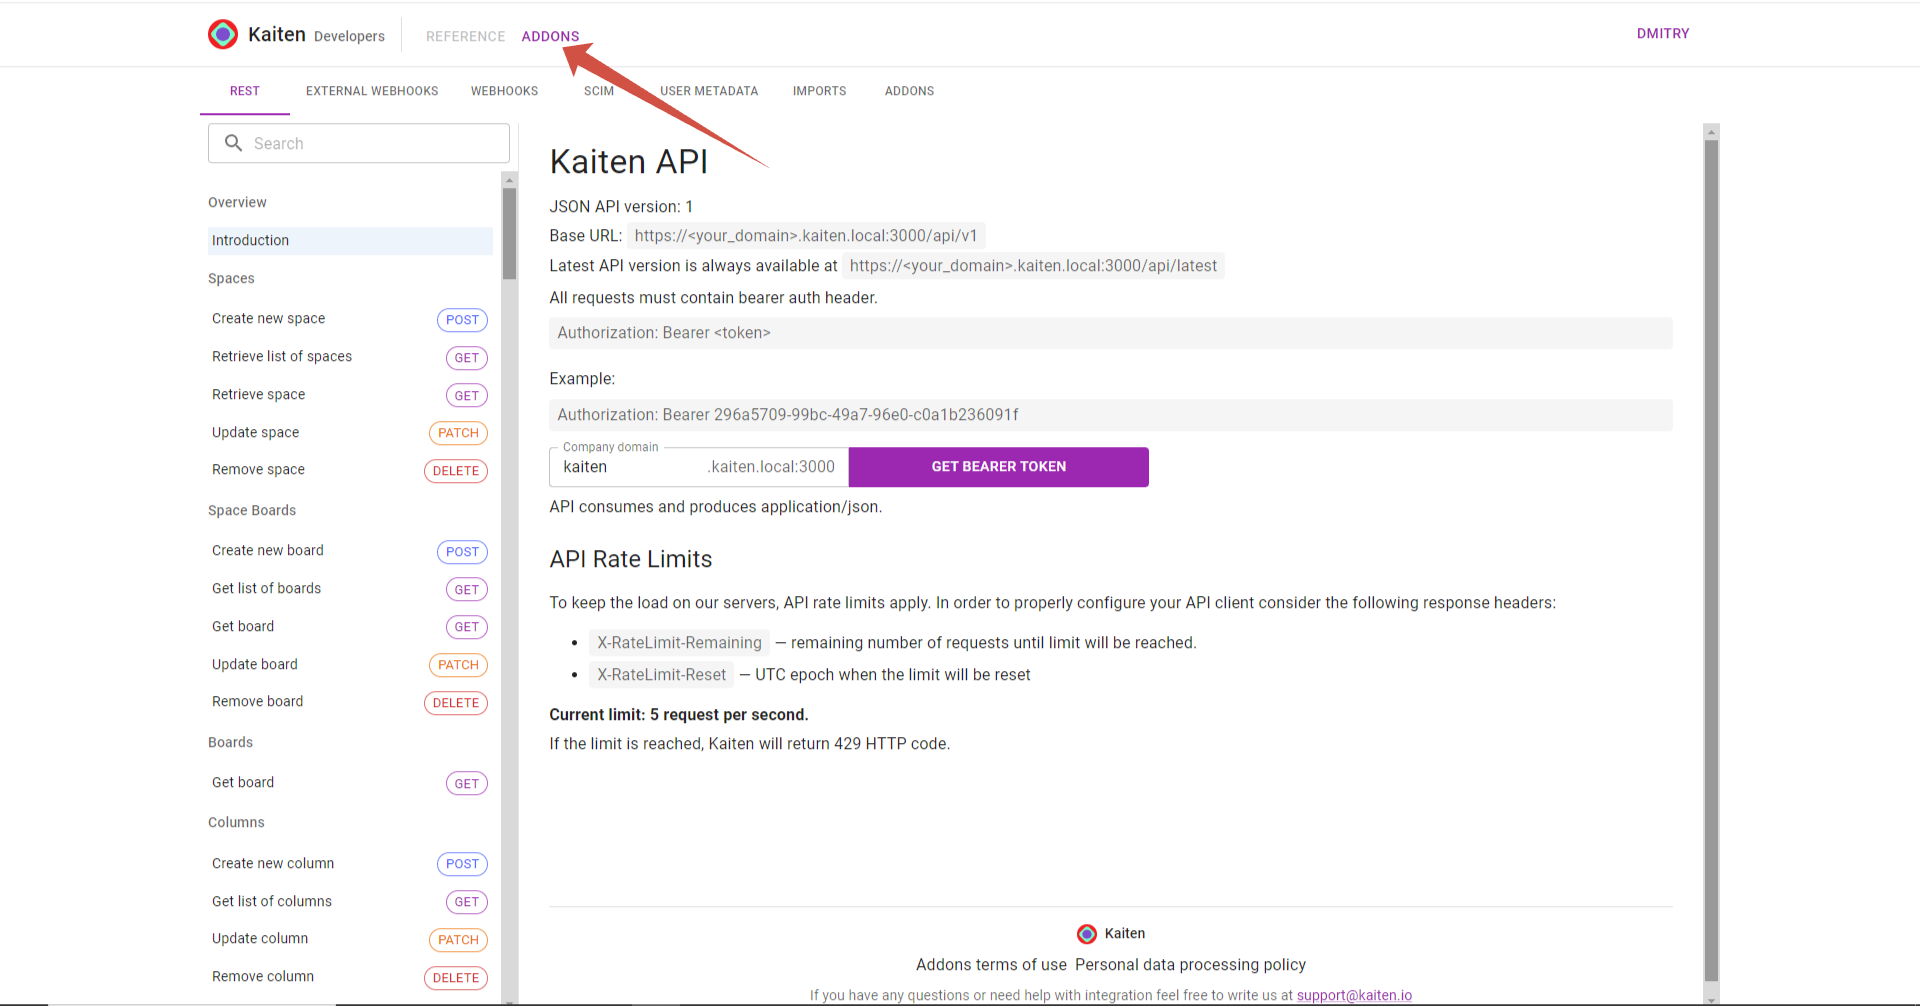
Next go to the section “Addons” and click on “Create a new addon”

In the window that opens, enter the name, address of the Iframe connector url(the address where your server is running), the domain of the company where the addon will be available and mark the necessary features of our addon
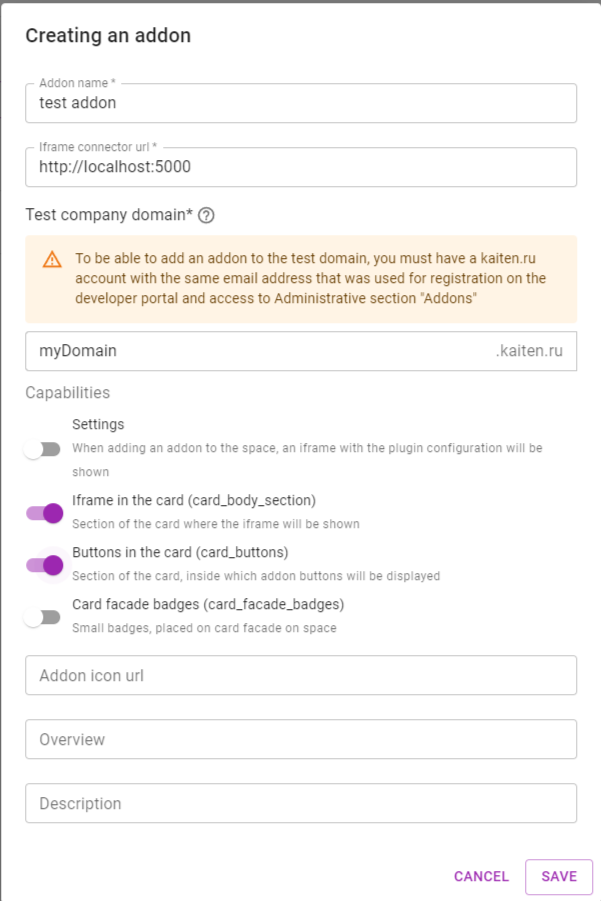
Settings- allow configuring the addon for a specific space (when adding the addon to a space, the settings menu will have an option “Settings”)

Buttons in the card- a section in the open card where all our action buttons will be displayed
Iframe in the card- a section in the open card where an iframe will be displayed
Card facade badges- Small badges, placed on card facade on space
In public/js/, add the file client.js.
Addon.initialize({
    'card_buttons': async (cardButtonsContext) => {
      const buttons = [];
      buttons.push({
        text: 'Test button 1',
        callback: async (callbackContext, callbackOptions) => {
          console.log('card test button 1 clicked, i will fetch card and simply console log it');
          try {
            const card = await callbackContext.getCard();
            console.log('here is card title: ', card.title);
          } catch (err) {
            console.log('error while fetching card');
          }
        }
      });
      return buttons;
    }
  })
Please pay attention to the following points - client.js runs on the client side, and we have access to window.Addon.When initialize is called, our addon initializes and establishes a connection with Kaiten (via window.postMessage calls).
The first argument passed to initialize is an object whose keys are the features we have enabled for our addon:
settings - Addon settings in the space
card_buttons - Addon buttons/actions
card_body_section - iframe in the body of the open card
card_facade_badges - Card facade badges
After initializing the addon, Kaiten will make a request to the addon to render the necessary section.
The values of the keys are functions, where their first argument is an object context providing access to web SDK methods.
The functions for card_buttons and card_body_section should return arrays of objects.
In the example above, the card_buttons function returns an array containing one object, consisting of 2 keys:
text - Button text
callback - Action that will occur when the button is clicked (in this case, card data will be retrieved and displayed in the console).
This example doesn't do anything useful. Let's try to do something more meaningful.
Addon.initialize({
settings: (settingsContext) => {
return settingsContext.openPopup({
title: 'Timer settings',
url: './settings.html',
height: 200,
width: 300
});
},
'card_body_section': async (bodySectionContext) => {
const timerLogs = await bodySectionContext.getData('card', 'private', 'timerLogs');
if (!timerLogs || !timerLogs.length) {
return [];
}
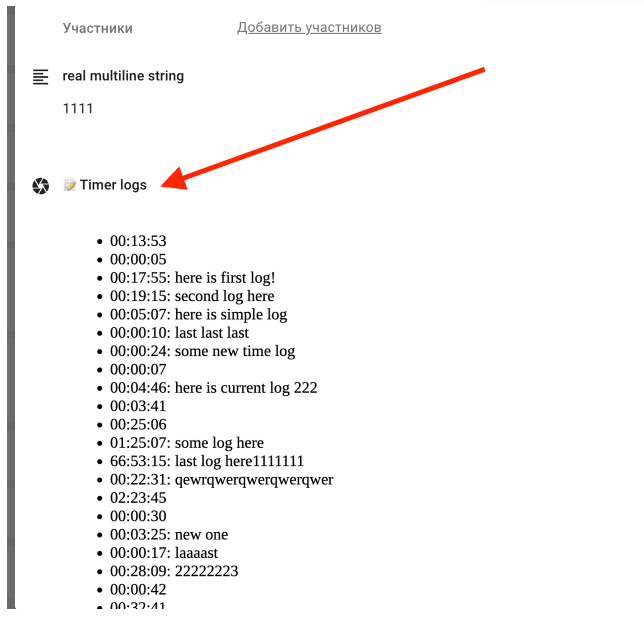
return [{
title: '📝 Timer logs',
content: {
type: 'iframe',
url: bodySectionContext.signUrl('./timeLogs.html'),
height: 200,
}
}]
},
'card_buttons': async (cardButtonsContext) => {
const settings = await cardButtonsContext.getSettings();
const buttons = [];
const permissions = cardButtonsContext.getPermissions();
if (!permissions.card.update) {
return [];
}
if (settings && settings[0]) {
const currentSpaceSettings = settings[0];
if (currentSpaceSettings.showTestButton) {
buttons.push({
text: 'Test button 1',
callback: async (callbackContext, callbackOptions) => {
console.log('card test button 1 clicked, i will fetch card and simply console log it');
try {
const card = await callbackContext.getCard();
console.log('here is card title: ', card.title);
} catch (err) {
console.log('error while fetching card');
}
}
})
}
}
const timerStartTime = await cardButtonsContext.getData('card', 'private', 'timerStartTime');
if (!timerStartTime) {
buttons.push({
text: '🟢 Start timer',
callback: async (buttonContext) => {
const now = Date.now();
await buttonContext.setData('card', 'private', 'timerStartTime', now);
}
})
} else {
buttons.push({
text: '📝 Add log to timer',
callback: (buttonContext) => {
return buttonContext.openPopup({
title: 'Add text log to current timer',
url: './timerLog.html',
height: 200,
width: 300,
});
}
})
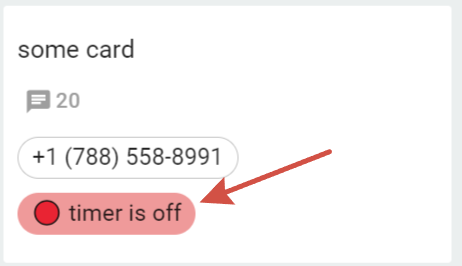
buttons.push({
text: '🔴 Stop timer',
callback: async (buttonContext) => {
const now = Date.now();
const startTime = await buttonContext.getData('card', 'private', 'timerStartTime');
const currentLog = await buttonContext.getData('card', 'private', 'timerLog');
await buttonContext.setData('card', 'private', 'timerStartTime', null);
if (currentLog) {
await buttonContext.setData('card', 'private', 'timerLog', null);
}
const data = {
startTime,
endTime: now,
log: currentLog || null,
}
const logs = (await buttonContext.getData('card', 'private', 'timerLogs')) || [];
await buttonContext.setData('card', 'private', 'timerLogs', logs);
}
})
}
return buttons;
}
})Let's go over the main points of this example:
settings - opens a popup, the content of which is an iframe with settings.html
card_body_section
- The function getData(...) is called.
This function returns the saved data in the current context of the call (at this moment, all available addon sections are within the card, so the context is always 'card' - If the saved data for display is not found, the section will not be rendered.
- If timeLogs data is received, an array with an object will be returned, after which, upon receiving it, an iframe with timeLogs.html will be rendered in the card body.
- When addon data changes, this section will be re-rendered. So, if initially timeLogs are not present but later, upon interacting with the addon, the data appears, the section will be re-rendered, and this section will appear.
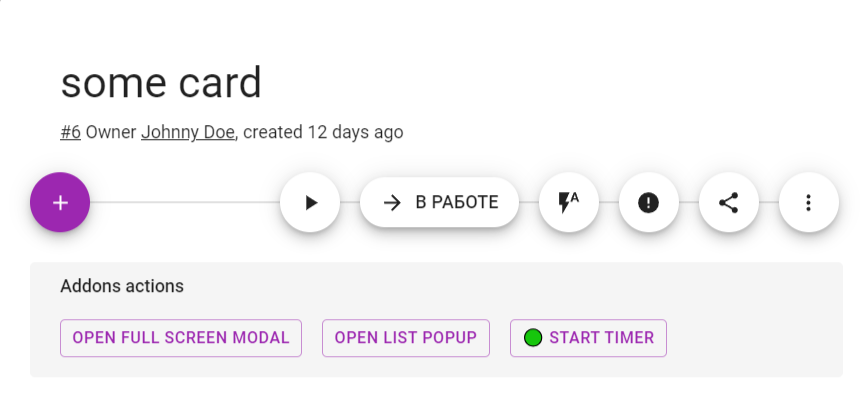
card_buttons
- getSettings() is called to retrieve the addon settings for the current space.
- getPermissions() is called to retrieve the permissions of the current user, and if the user does not have access to update the current card, the buttons are not displayed (an empty array is returned).
- If the addon settings for the current space include the option showTestButton , a test button is added.
- Calling cardButtonsContext.getData('card', 'private', 'timerStartTime') - we retrieve the addon data value for the key timerStartTime. If this value is present for the current user, we add a button to stop the timer and a button that, when clicked, opens a popover with an iframe. If this value does not exist yet, we display a start timer button.
- The '🟢 Start timer' button, when pressed, triggers await buttonContext.setData('card', 'private', 'timerStartTime', now) saving the value now for the current user in the plugin data in the card context under the key timerStartTime.
Let's consider an example of our settings in the space (settings). When the "Addon Settings" menu item is clicked, the following function will be called:
settings: (settingsContext) => {
    return settingsContext.openPopup({
      title: 'Timer settings',
      url: './settings.html',
      height: 200,
      width: 300
    });
  },
As a result, a popup will open, with the content being settings.html
Add in public/views/settings.html
<!DOCTYPE html>
<html>

<head>
  <meta charset="utf-8">
  <link rel="stylesheet" href="index.css">
  <script src="https://files.kaiten.ru/web-sdk/v1.min.js"></script>
</head>

<body>
  <div id="settingsContent">
    <label for="show-date">Show Date</label>
    <input type="checkbox" id="show-date">

    <label for="show-test-button">Show Test Button</label>
    <input type="checkbox" id="show-test-button">

    <button id="submit">Submit settings</button>

  </div>
  <script src="js/spaceSettings.js"></script>
</body>

</html>
Add in public/js/spaceSettings.js
const iframe = Addon.iframe();

  const showDateEl = document.getElementById('show-date');
  const showTestButtonEl = document.getElementById('show-test-button');
  const submitButton = document.getElementById('submit');

  iframe.fitSize('#settingsContent');

  iframe.getSettings()
    .then(([response]) => {
      if (!response) {
        return;
      }

      showDateEl.checked = !!response.showDate;
      showTestButtonEl.checked = !!response.showTestButton;
    });

  submitButton.addEventListener('click', () => {
    const showDate = showDateEl.checked;
    const showTestButton = showTestButtonEl.checked;

    iframe.setSettings({
      showDate,
      showTestButton,
    }).then(() => {
      iframe.closePopup();
    });
  });
As a result, the popup will display a pair of checkboxes and a confirmation button. Clicking the confirmation button will update the addon settings for the current space (iframe.setSettings(...)) and close the popup (iframe.closePopup())
We won`'t go into adding the rest of the files, you can fetch them from here